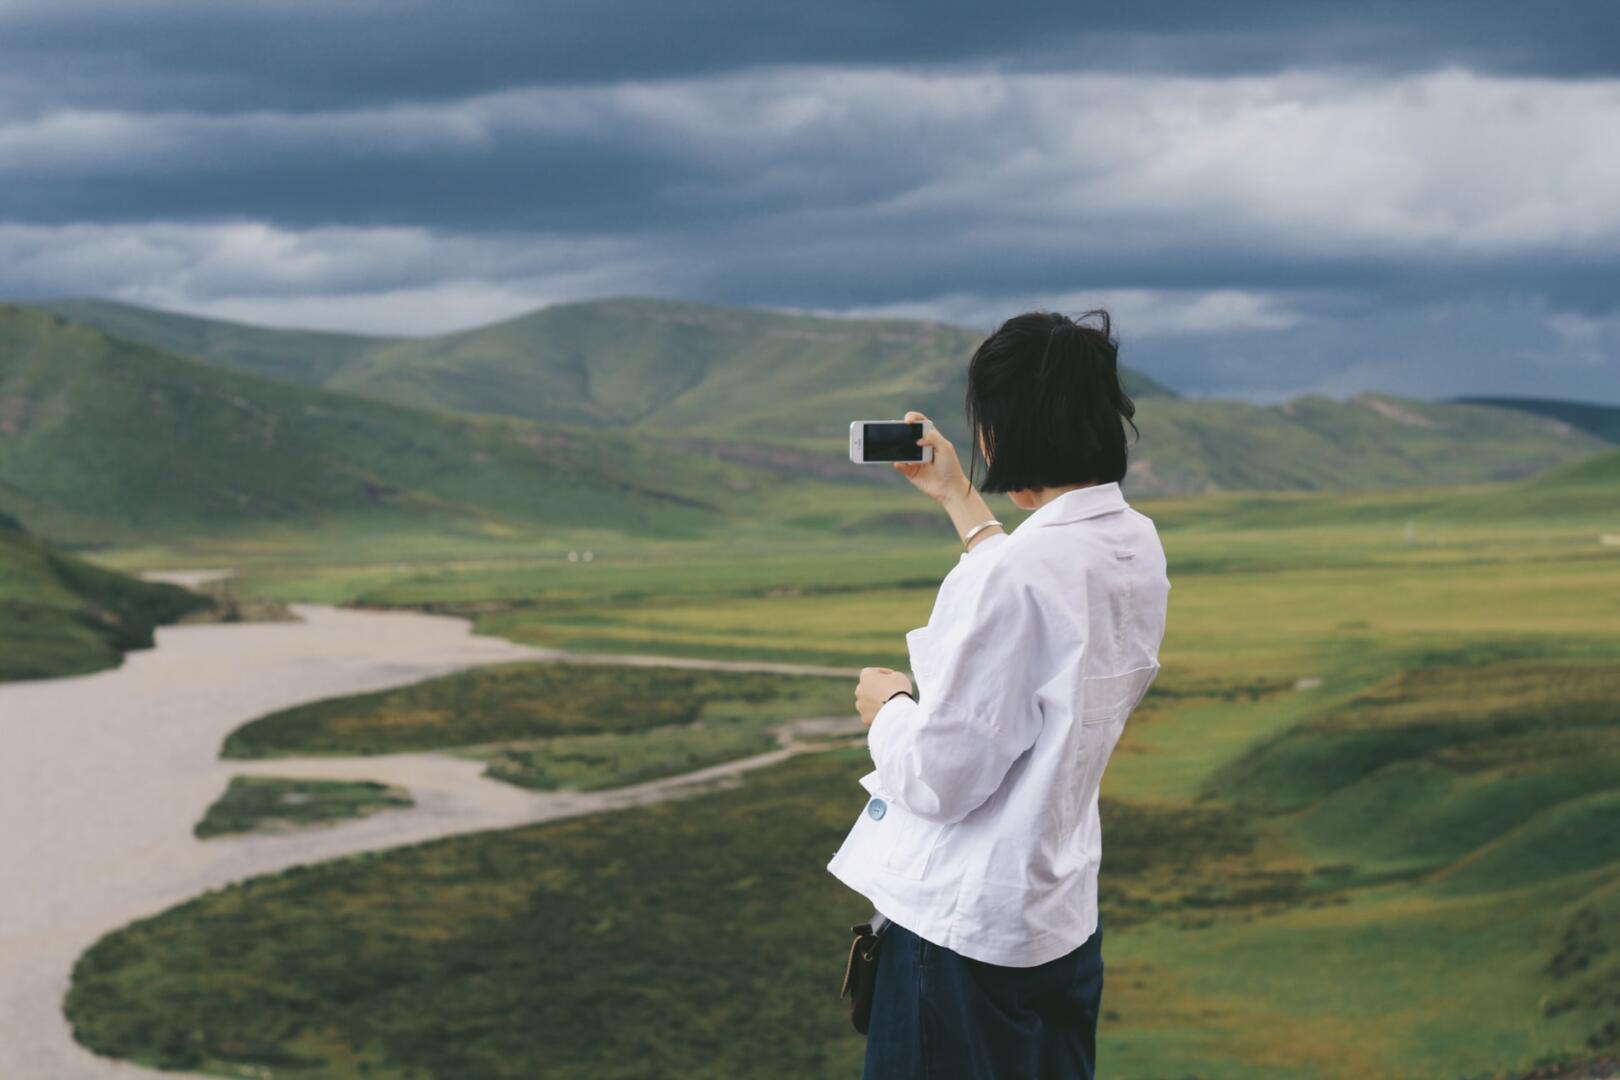
Whether you’re snapping pictures on an adventure in Costa Rica – or in your own backyard – it’s undeniable that we’re all striving for the same thing; the perfect shot. For those of you who don’t want to invest in a fancy (and expensive) camera, we’ve put together a small collection of tips and tricks to make your smartphone snaps just that much more impressive. Now go ahead and start capturing those moments with confidence!
Filters Are Your Friend
Even the most seasoned photographers will tell you they upload the photos from their camera to some type of photo editing software to alter it to their liking. But if you don’t want your image to scream “I definitely used a filter on this” simply try turning it down. If you tap on your chosen filter once you’ve already selected it, you should get the option to turn down its intensity, leaving you with options to customize the look even further.
We recommend the VSCO: Photo & Video Editor for impressive filters and editing capabilities for your images.
Ditch The Zoom
As tempting as it is to zoom in on that deer off in the distance, your phone will not only yield a grainy image, it will reduce the resolution of the overall photo and intensify any vibrations from your hands, leaving you with something you might not be very happy with. This is one of the few drawbacks of not using a camera with a zoom lense. There is, however, an exception to this rule if you have a newer smartphone! For example – the latest iPhone cameras have “optical zoom” capabilities which use actual focal lengths as opposed to the “digital zoom” on older models, which essentially just crops your image in the end. Either way, the closer you get to your subject, the better (unless we’re viewing grizzly bears)!
The Grid Is Great
In the photography world there’s something called “the rule of thirds.” It also happens to be one of the easiest ways to instantly improve your photography skills and capture visually appealing and balanced images. According to this rule, each picture should be divided into nine equal parts by two vertical and two horizontal lines. The significant elements in the photo should be placed at the intersections of those lines or along them. Most smartphones make it easy for you with a 9×9 grid line overlay you can enable in your camera Settings > Photos & Camera.
Keep It Clean
This one might seem a bit obvious, but it’s of the utmost importance that you keep that teeny, tiny lense free of fingerprints and smudges. We’re constantly fumbling with our phones, and our preoccupation to keep things looking shiny usually lands on the screens, not the little lense on the back. If your images are looking foggy or out of focus, remember to give the lense a wipe so it’s clear of anything that will hinder all your hard work!
Daylight Is Your Friend
Make no mistake, photographs that you take during the day always yield better results. The sun is our natural “studio lighting”, take advantage of it! The best time of day to take portrait photos is in the couple hours after sunrise and the couple hours before sunset, sometimes referred to as “golden hour”, as it yields the softest results. So make sure to schedule your selfies in front of the Notre Dame in those glorious hours!
Take A Moment
Lastly, we’re going to contradict ourselves here… take a moment or two not taking pictures. Sometimes being in the moment and being present is the best way to fully take in your trip. Trust your memory!